|
|

Wecome To Linux
VMware Workstation 15.5 Pro Installation on Windows10
Virtual Machines, also called hypervisor or Virtual Machine Monitor have been around for quite sometime and allow us to run multiple operating system on the same physical machine. They are the backbone of the corporate IT infrastructure but can also be used on personal computers to experiment / work on various other operating systems without having to use other options such as duel boot or do a clean install on the existing PC.
By this post let me show you how we can install one of such software VMware workstation 15 on our windows 10 Laptop / Desktop PC.
To begin with, VMware Workstation 15 Pro is a virtualization software from VMware Inc. USA for windows and Linux platform. For Mac OS it is available as VMware Fusion.
Please note that, VMware Workstation is not a freeware and can be purchased from the VMware Store. They do provide 30 day trial, but if you are looking for a free version of the software, you can try VMware Player, which is free for personal use.
Lets get started. Installing the software is fairly straight forward. All you have to do is to download the installer from the website, run it and follow the instructions. Below are the steps:
Step 1- Download Link
Link for downloading the software by this https://www.vmware.com/products/workstation-pro/workstation-pro-evaluation.html . Download the software for windows. Good thing is that there is no signup process. Click and download begins. Software is around 541 MB.
Step 2- Download the installer file
It should probably be in the download folder by default, if you have not changed the settings in your browser. File name should be something like https://download3.vmware.com/software/wkst/file/VMware-workstation-full-15.5.6-16341506.exe This file name can change depending on the version of the software currently available for download. But for now, till the next version is available, they will all be VMware Workstation 15 Pro.
Step 3- Locate the downloaded installer file
For demonstration purpose, I have placed the downloaded installer on my desktop. Find the installer on your system and double click to launch the application. By default, the downloaded files are placed in the downloads folder.

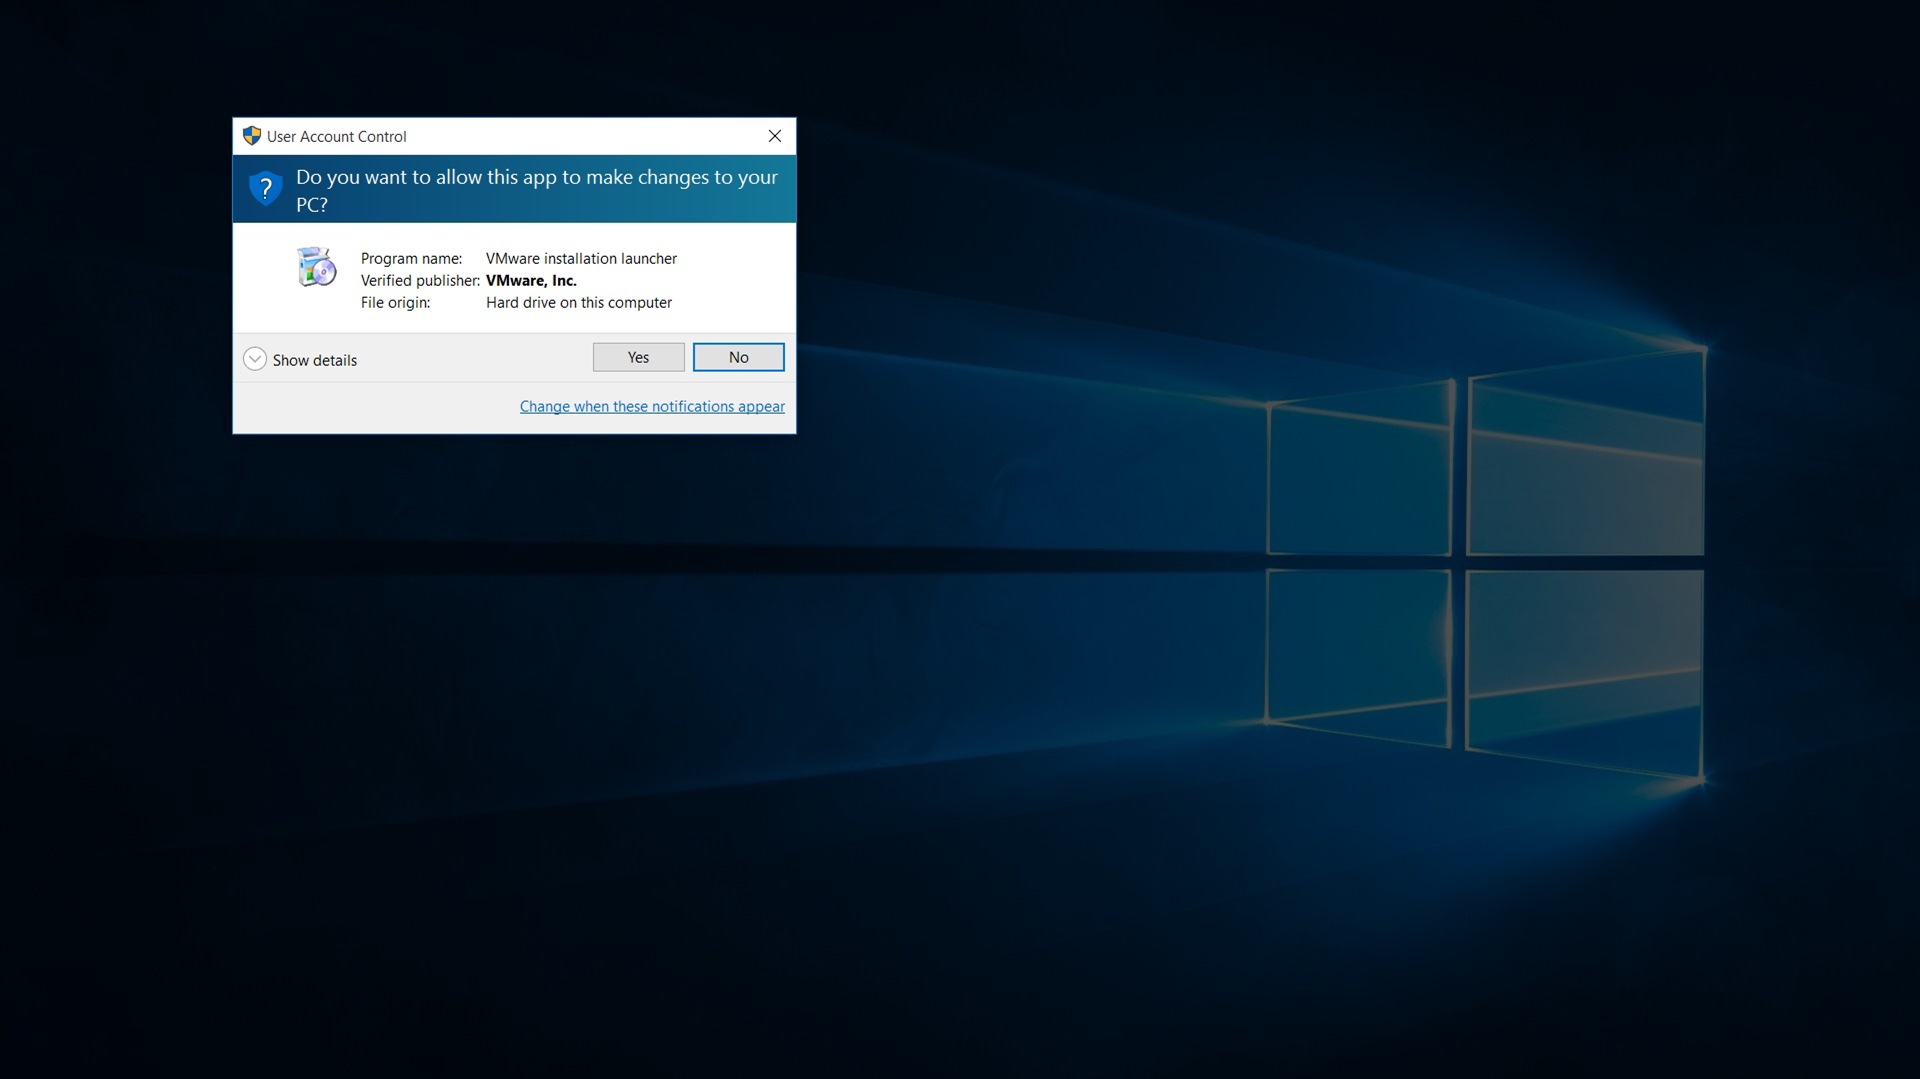
Step 4- User Access Control (UAC) Warning
Now you should see User Access Control (UAC) dialog box. Click yes to continue.
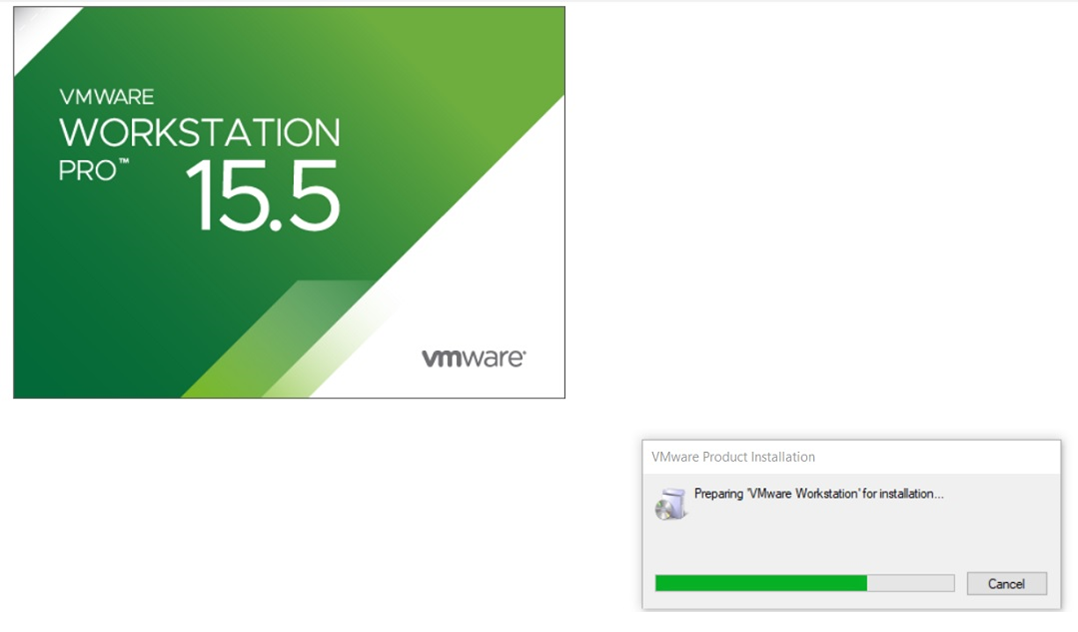
Initial Splash screen will appear. Wait for the process to complete.
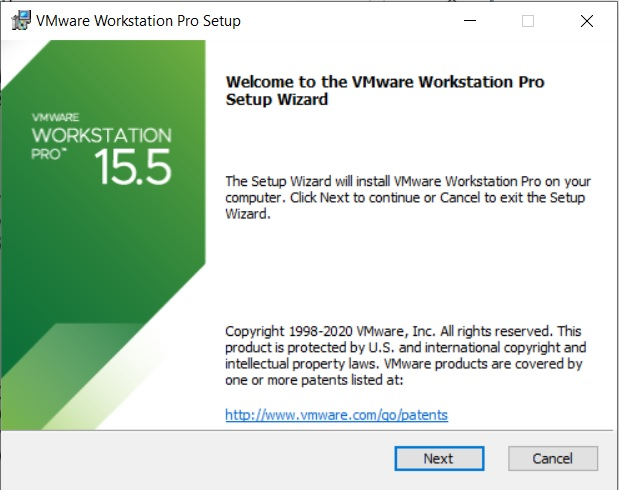
Step 5- VMware Workstation Setup wizard
Now you will see VMware Workstation setup wizard dialog box. Click next to continue.
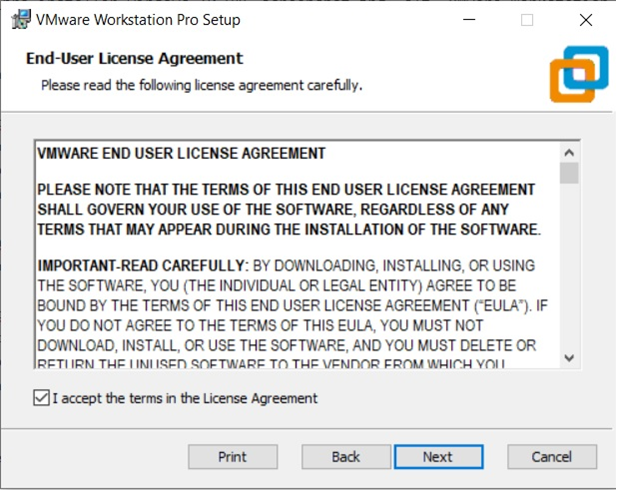
Step 6- End User Licence Agreement
This time you should see End User Licence Agreement dialog box. Check "I accept the terms in the Licence Agreement" box and press next to continue.
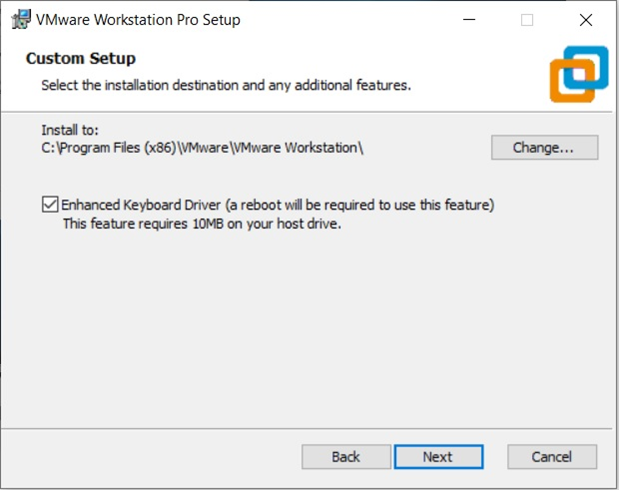
Step 7- Custom Setup options
Select the folder in which you would like to install the application. There is no harm in leaving the defaults as it is. Also select Enhanced Keyboard Driver check box.
Step 8- User Experience Settings
Next you are asked to select "Check for Updates" and "Help improve VMware Workstation Pro". Do as you wish. I normally leave it to defaults that is unchecked.

Step 9- Application Shortcuts preference
Next step is to select the place you want the shortcut icons to be placed on your system to launch the application. Please select both the options, desktop and start menu and click next.

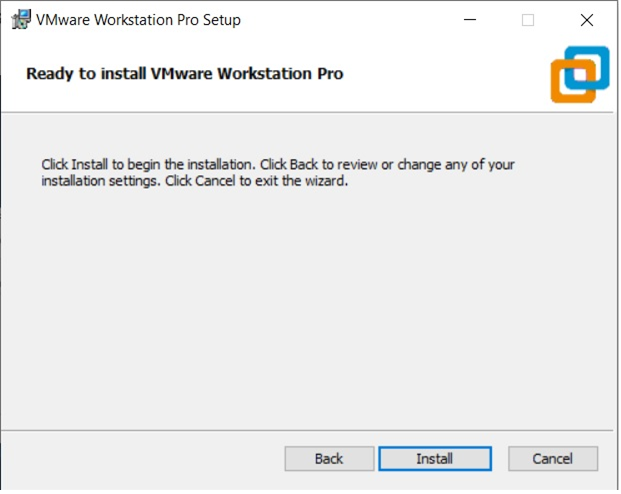
Step 10- Installation begins
Now you see the begin installation dialog box. Click install to start the installation process.
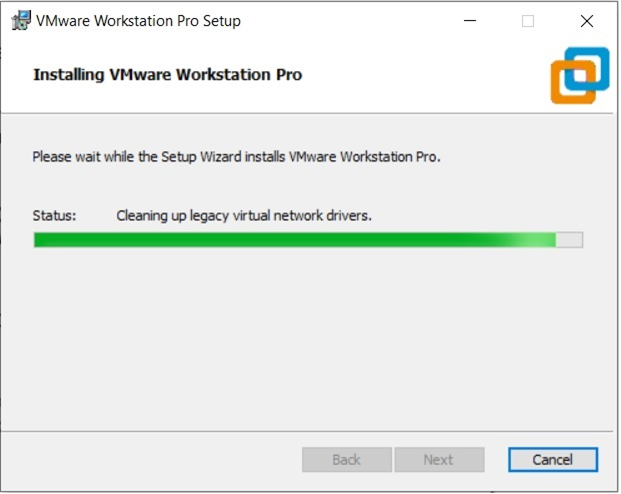
Below screenshot shows Installation in progress. Wait for this to complete.
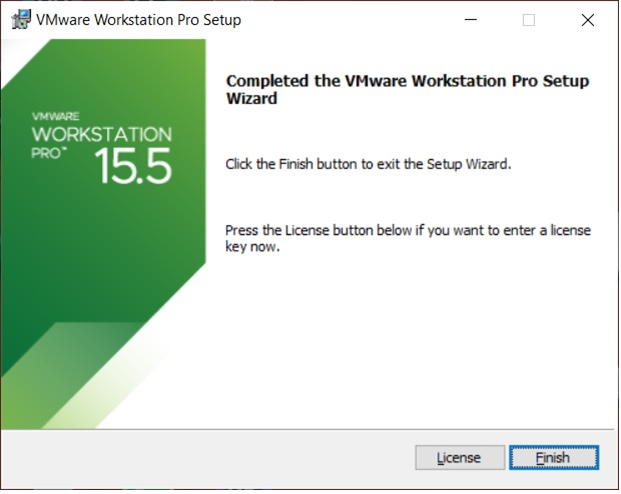
At the end you will see installation complete dialog box. Click finish and you are done with the installation process. You may be asked to restart your computer. Click on Yes to restart.
Step 11- Launch VMware Workstation
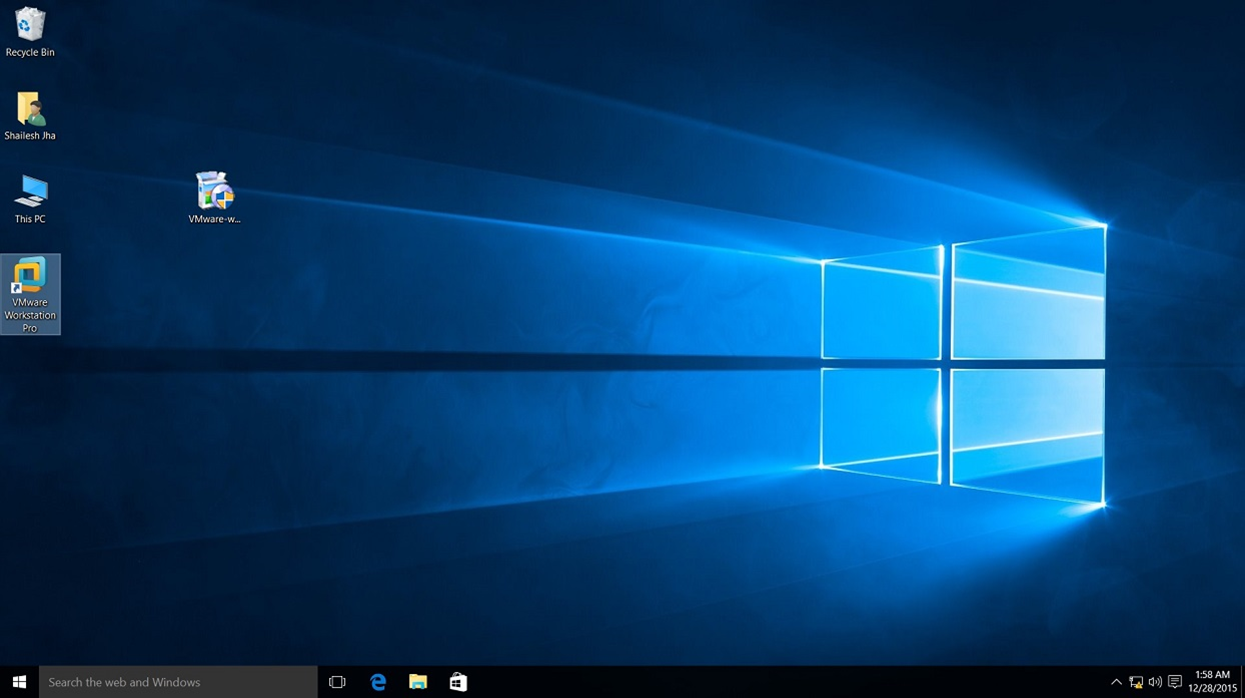
After the installation completes, you should see VMware Workstation icon on the desktop. Double click on it to launch the application.
12- Licence Key
If you see the dialog box asking for licence key, click on trial or enter the licence key. If dont have the licence key, you will have 30 days trial. Click on trial to start your trial.
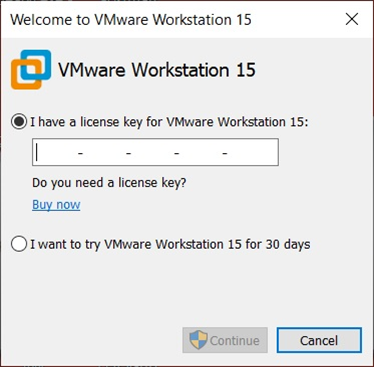
Thats it, you can start using VMware Workstation.

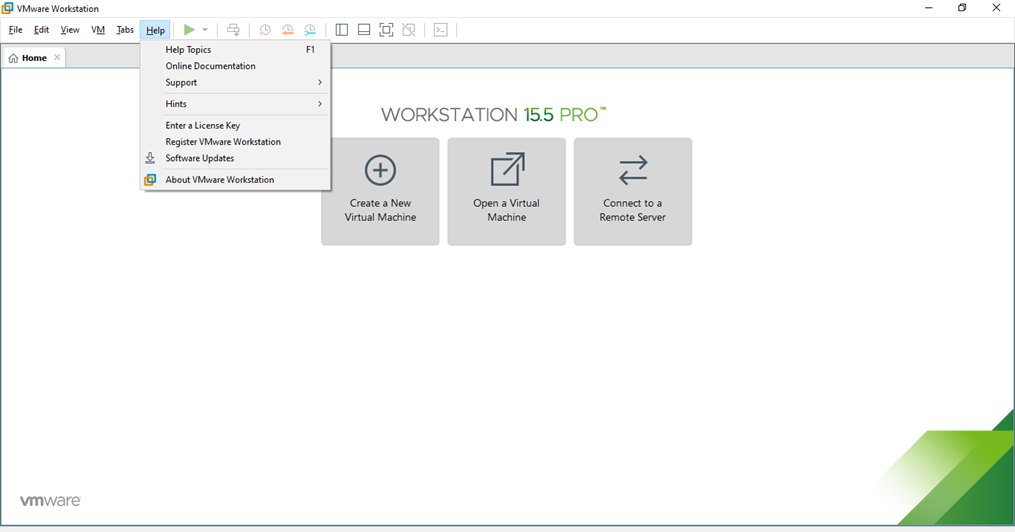
Step 13- At some point if you decide to buy
At some point of time if you decide to buy the Licence key, you can enter the Licence key by going to
Help->Enter a Licence Key.

You can enter the 25 character licence key in the dialog box shown below and click OK.
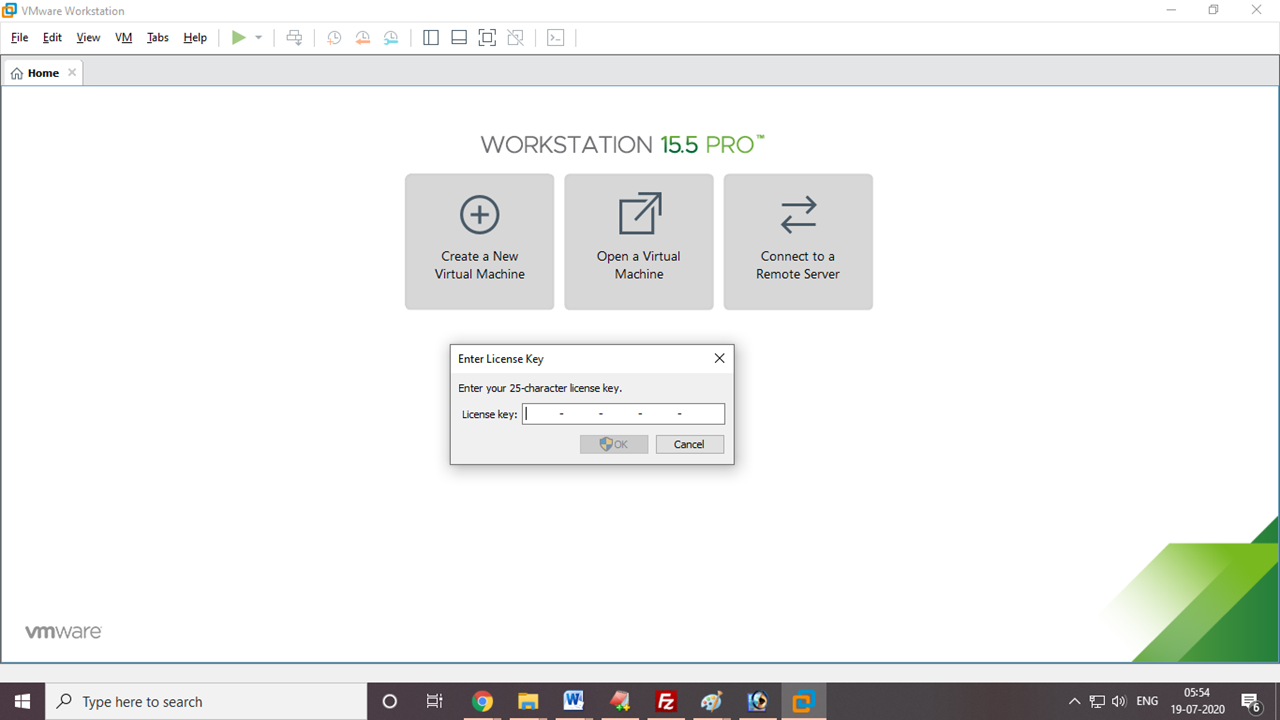
Now you have the licence version of the software.
The DevOps seminar will help you to learn DevOps from scracth to deep knowledge of various DevOps tools such as fallowing List.
Kubernetes.Learn Latest Technologies
DevOps
AWS
Python
Azure
G Cloud
Linux
Web Tech
Data Bases
Testing
Git
Ansible
Chef
Kubernetes
HTML
CSS